Preserving Summer: A Guide to Canning Peaches


Introduction to Canning Peaches
Summer brings with it a bounty of delicious fruits, and peaches are undoubtedly one of the season’s highlights. To savor their sweet, juicy goodness all year round, canning is an excellent method. This guide will walk you through the process of preserving peaches so you can enjoy a taste of summer anytime.
Why Can Peaches?
Canning peaches not only extends their shelf life but also locks in nutrients and flavor. Home-canned peaches are free from preservatives and artificial additives, making them healthier than many store-bought alternatives. Whether you use them in desserts, smoothies, or just enjoy them straight from the jar, canned peaches are a versatile pantry staple.
Getting Started: Gather Your Supplies
Before you begin, ensure you have all the necessary supplies. Here’s a checklist to get you started:
- Fresh, ripe peaches
- Mason jars with lids and bands
- Large pot or canner
- Jar lifter and funnel
- Peach pitter or paring knife
- Sugar (optional)
- Lemon juice
Preparing Your Peaches
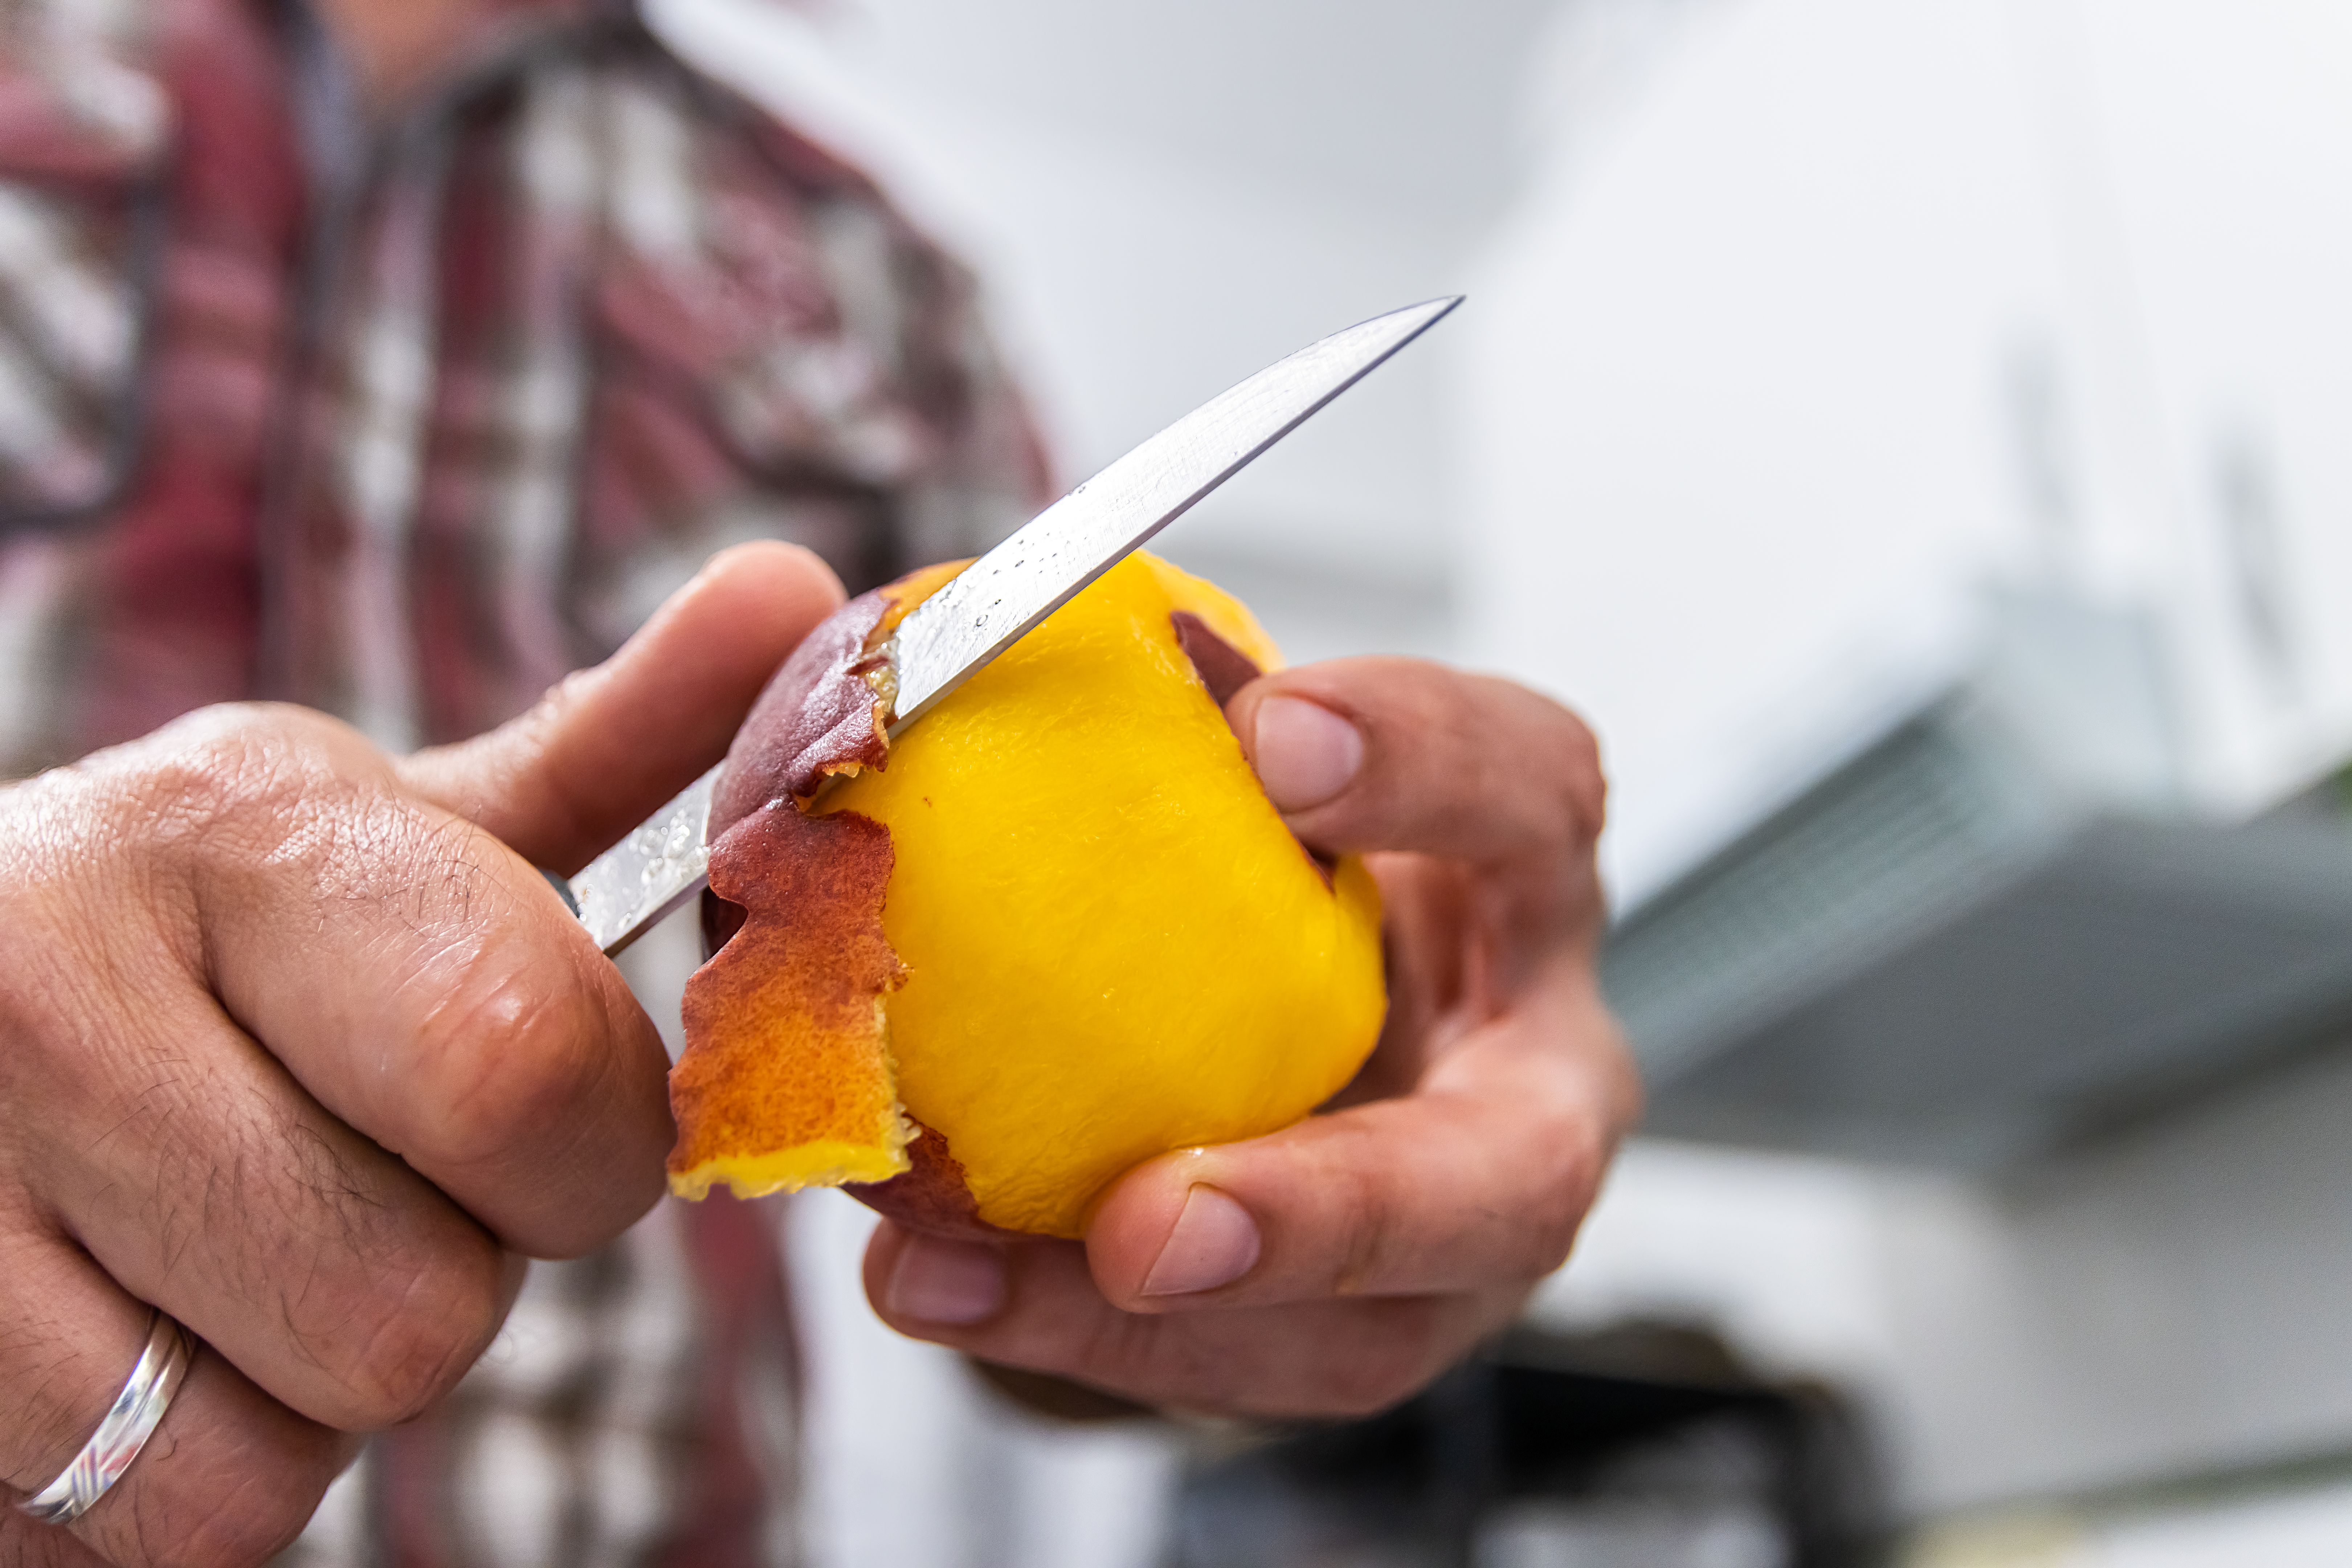
Start by selecting ripe yet firm peaches. Wash them thoroughly to remove any dirt or pesticides. To easily peel the peaches, blanch them by dipping them in boiling water for about 30 seconds, then transferring them immediately to an ice bath. The skins should slip off effortlessly.
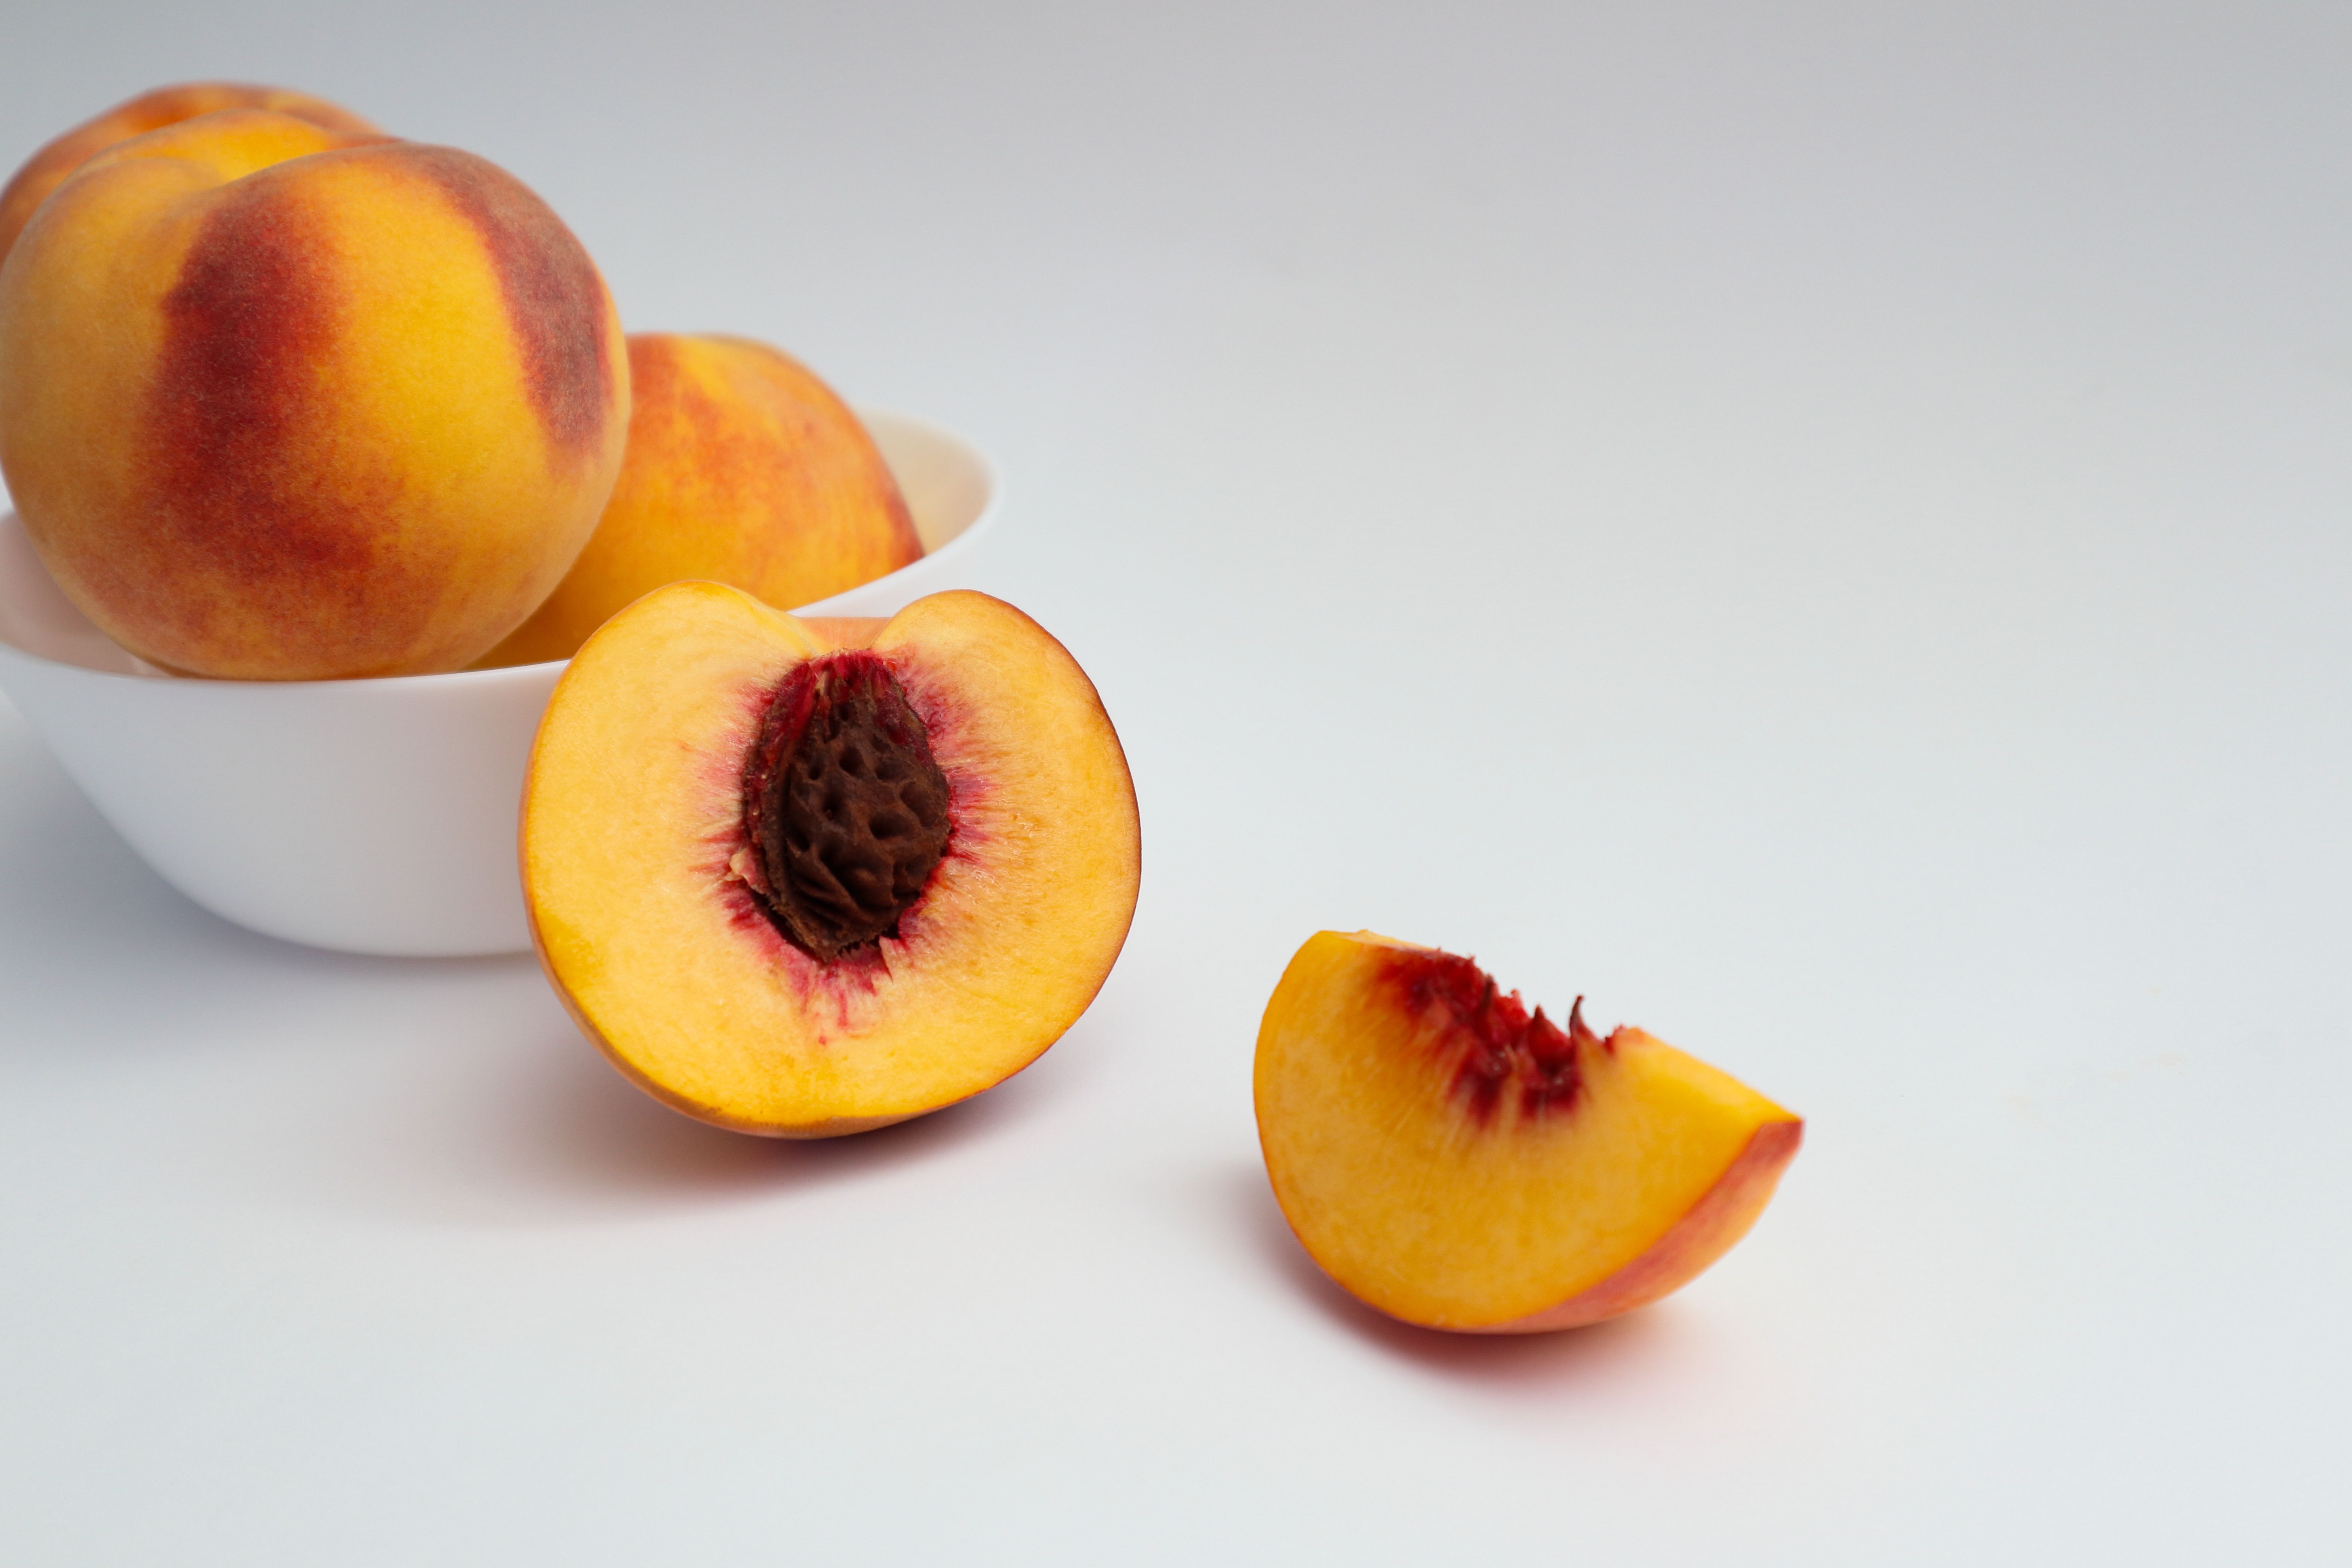
Once peeled, cut the peaches in half and remove the pits. You can slice them further if desired. To prevent browning, you may want to toss the peach slices in a mixture of water and lemon juice.
Canning Process
Now that your peaches are ready, it's time to start canning:
- Sterilize your mason jars by boiling them in water for at least 10 minutes.
- Prepare a light syrup by dissolving sugar in water (optional). You can adjust the sweetness to your preference or use plain water for a sugar-free version.
- Fill each sterilized jar with peach slices, leaving about 1/2 inch of headspace at the top.
- Pour the hot syrup or water over the peaches, maintaining the headspace.
- Wipe the rims of the jars clean and place the lids and bands on securely.
Sealing and Storing Your Peaches
Process the jars in a boiling water bath for about 20 minutes. This step is crucial for ensuring a proper seal and preventing spoilage. Remove the jars using a jar lifter and let them cool undisturbed for 12-24 hours. You’ll know they’re sealed if the lids don’t pop when pressed.
Store your canned peaches in a cool, dark place. They’ll last up to a year, though they’re usually too delicious to last that long!
Enjoying Your Home-Canned Peaches
With your peaches safely preserved, you can now enjoy them in various ways throughout the year. Add them to oatmeal, bake them into pies, or simply enjoy them chilled as a refreshing snack. The possibilities are endless!
Canning peaches is a rewarding endeavor that connects you to the flavors of summer no matter the season. By following this guide, you'll have delicious homemade canned peaches to enjoy and share with loved ones.